LOGIN
  • Post to the EFV-8 Forum
  • Post Classified Ads
  • Shop the Online Store
User Login

Not Registered Yet? Click Here to Sign Up!


(Forgot your Password?)
Remember me on this computer

Not registered yet?
REGISTER NOW!

Back to Home Page Show Forum Rules

Early Ford V-8 Club Forum

FORUM RULES: Users agree to these Rules when using Forum.

The site administrator reserves the right to change the terms and conditions of the user agreement without prior notice to the user. It is the responsibility of the user to regularly review the terms of this agreement.

The user agrees to the following terms:

  1. All information that you provide to us for your membership is correct.
  2. You will not use your membership to spam, harrass, or exploit other members in any way.
  3. Vulgar, Abusive, Racist and Sexist Language will not be tolerated.
  4. Commercial-type sales postings will not be allowed.
  5. No mass posting or flooding of the boards is allowed.
  6. No Advertising of parts or cars; no Ebay or business/commercial ads (please use the "Classified" for ads Wanted or For Sale).
  7. VIEWING MULTIPLE TOPICS ON SCREEN: You can choose to see more than 10 Topics at a time ... Log In and choose "Preferences" from the top bar on the Forum page. Scroll down and Change the "Default Topics Returned" parameter to 25 or 50, and save the changes. Since this setting is stored in your browser 'cookies' (if enabled), it seems to use that stored value even if you are not logged in. So, if you use a PC that you haven't logged into the forum from, the setting still seem to remain at the default.
  8. EXTERNAL PHOTO LINKS ON FORUM: You can still use external photo links in your posts on the new forum. They follow the rules of any link in that they have to have the URL link qualified down to the full image file name (example: .jpg). The links will open in a new browser window, the same as an uploaded image attached to a post. Since an image attachment to any post does not display inline with the post, the results are the same. You can use multiple external links within a post. This link is from photos on a site from Don Clink's 'Deuce@75' albums:

    http://donclink.com/deuce_75_1/images/dscn2950.jpg

    Using links from photo sites such as Photobucket can help in "size" issue with uploaded attachment files. For best viewing in web browsers, photos should be around the 800x600 pixel range, and probably not more than 1024x768. Most cameras today store HUGE jpg image files, as the default settings are in the 7, 8, 10, and 12Mb image sizes. The image files that are then attached are very large, and the browser can't display the full image size without using the scroll bars. Use the re-sizing functions of your photo editing software to reduce the image to 800x600, which reduces the file sixe and the image load time in the browser. Don uses Google's free Picassa3 software, which is an excellent photo management product. All of the photo albums of the Deuce, Grand National, and Auburn that are links on the NORG site were built using Picassa's web creation functions. And it's free? (THANKS to Don Clink for the info!)
  9. HOW DO I SHOW MY EMAIL ADDRESS ALONG WITH MY USERNAME? You can LogIn on the Forum, and select PREFERENCES. On this page Members can add optional information such as their City,State, Country; Occupation; Hobbies: list a Homepage; list AOL Instant Messanger Handle; Signature; "Make Email Address viewable to others;" and even change the number of Default Topics shown on a page. WHEN others click on your profile, they will see this information.

EFV-8 Club Forum / General Ford Discussion / hand brake cresent arm

   Reply to this DiscussionReply to Discussion | Start new discussionNew Discussion << previous || next >> 
Posted By Discussion Topic: hand brake cresent arm

Printer-friendly Version  send this discussion to a friend  new posts first

a duece bruce
05-02-2020 @ 1:37 PM
Member
Posts: 5
Joined: Mar 2020
          
It was great to get back on the road. My brake job is working good. Here comes better weather and I'm ready to go! Thanks for the advise. Happy Motoring, Bruce

a duece bruce
04-01-2020 @ 7:36 PM
Member
Posts: 5
Joined: Mar 2020
          
I think the hand brake arms can be put on the shoes on the bench, so the keepers could be installed on the backside, then install the shoes. Harder to install the brake spring with the arms in the way? Maybe not. I put the shoes on, with the pins in from the back, put the brake spring on, then hold the pins from the back and put the arms on. Spring washer between the shoe and crescent arm, flat washer under the keeper on the outside. No washers on the L arm. A LITTLE anti-sieze sauce on them and on the shoe pads and bottoms. I doubt it matters which way the pin goes. I live on a 4 mi steep hill, I'll let you know how they work. Here's my next build, 37 coupe. A guy needs a closed car! For days like this. Happy Motoring! a duece bruce

51woodie
04-01-2020 @ 3:43 PM
Senior
Posts: 525
Joined: Jan 2017
          
More information to confuse the subject. In Bob drake's catalogue #30, the pictures on page 332 and 341 both show the pin in from the backside, and the clip on the drum side. I looked in my 1942-1948 Ford Merc shop manual, and Page E2, Fig.4 shows the pin going in from the outside but does not show the washers. To add more confusion, the same manual, page E-8, Fig. 14 shows the pin in from the back and clip on the outside. Does that mean that Ford didn't think it was critical as to how it is assembled?

Note that the drawing shows the rear shoe has the short lining.

This message was edited by 51woodie on 4-1-20 @ 3:46 PM

a duece bruce
04-01-2020 @ 1:23 PM
Member
Posts: 5
Joined: Mar 2020
          
Thanks for the responses. None of the diagrams I could find,inc Van Pelts, show the order, just the parts. If the green bible shows flat on the outside and spring between the arm and shoe I guess we have been told. I see Im not the only one to have the pin backwards. I'll try it the bible way and see how it clears the L arm. Thanks Paul, for noticing what a lucky old guy I am. That dog is priceless, and grandma makes sheltering in place a pleasure. Now, to get that roadster back on the road for some essential therapy! Happy Motoring, a duece bruce

1931 Flamingo
04-01-2020 @ 11:11 AM
Member
Posts: 391
Joined: Nov 2019
          
Ck out MacVanPelts site, there should be a blow up picture of the parts and their placement, or try an on-line catalog of some of the other EV8 vendors.
Is there a car in the first picture ??
Paul in CT

51woodie
04-01-2020 @ 8:09 AM
Senior
Posts: 525
Joined: Jan 2017
          
I had a look at the drawing in the "Green Book", page 26, and the rear brake assemblies I took off my '46 Coupe and got confused. Well maybe not, as the drawing and my assembly differ. I am sure the brakes were worked on several times before I got the car. On the drawing, if I understand it, the pin goes through the flat washer, the spring washer, the arm then the shoe, with the u-clip going on the back side of the shoe. The drawing definitely show the pin #2107 going in from the drum side of the arm/shoe. Having said that, my assemblies are just the opposite, as you can see in the picture. Just my observation.

40 Coupe
04-01-2020 @ 5:56 AM
Senior
Posts: 1688
Joined: Oct 2009
          
I like the appearance of your car! The parts you reference were for the 46-48 rear brakes. I like to take the pin and install the flat washer then place the pin into the hole of the hand brake lever. Install the spring washer between the brake lever and the brake backing shoe. I don't think it matters on what side of the hand brake lever the spring washer is on so it could be installed on the pin after the washer and then assemble the three pieces into the hole of the lever and then through the brake shoe backing plate. I like to have a large flat surface on both sides of the spring washer as well as next to the hand brake lever.

a duece bruce
03-31-2020 @ 11:56 PM
Member
Posts: 5
Joined: Mar 2020
          
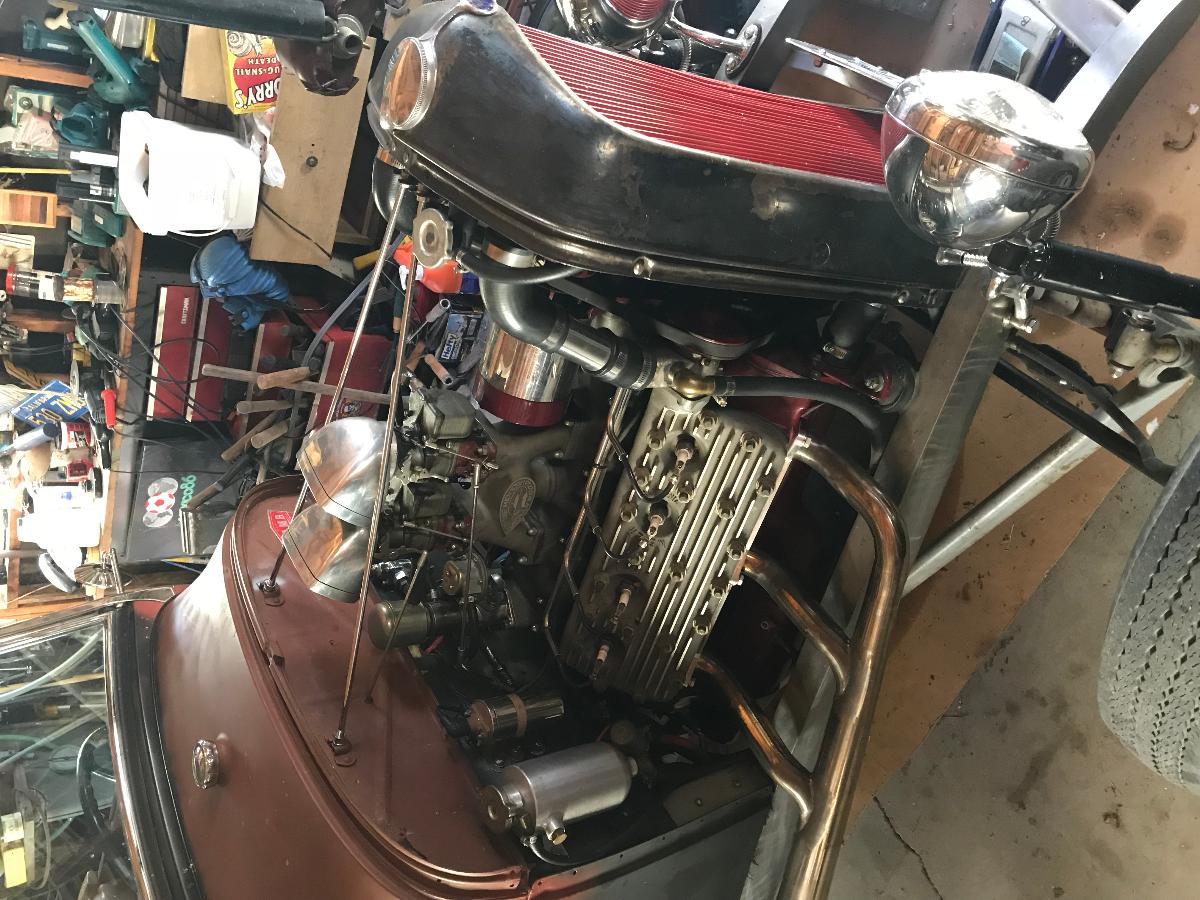
Hi, I'm new today. Bruce Champie Garberville Ca. 71 yrs. Retired Carpenter Veteran I built an A roadster on a 37' frame, 32 grill, at Vern Tardel's shop about 12 years ago. 21 stud Eddy Meyer built up Flattie. I wish it would fit in my living room, so I could look at it all the time. It's still rough looking, I don't want to out shine the original paint on the grill. I can't bring myself to sand it off, maybe someday I'll paint it.
I drive it a lot, and a rear brake cylinder leaked. Took both sides apart. I can't remember the order of the washers on the hand brake crescent arm. there are 2, one flat, one wavy. I'm thinking wavy behind and flat on top with the keeper. Needs to be room for the L arm under it. I Can't find the right diagram. Would some one enlighten me please. oh, the brakes are 1946, round hole with flat sides at the bottom. thx

This message was edited by a duece bruce on 4-1-20 @ 1:39 AM

<< previous || next >> 


NOTE: YOU MUST BE A REGISTERED USER AND BE LOGGED IN TO POST (and reply to) messages in this forum. If you are a first time user, please click the CREATE A NEW ACCOUNT in the masthead above to register and Log In. After that, all you do is LOG IN to enjoy using this site.

DISCLAIMER: The V-8 Club does no independent testing of any of the opinions, thoughts or suggestions presented in the website on the Forum, in the Tech Tips section, or any section. A reader should consider the website to be a forum wherein differing solutions to a particular set of circumstances may be discussed. Ultimately, the selection of an item for an individual's vehicle must be based upon the independent study of the vehicle owner in consultation with people in the hobby and restoration experts.


EFV-8 Club Forum Home | Back to Home Page | Contact the Webmaster

Copyright © 2009 - EFV-8.org
Powered by < CF FORUM > v.2.1